
This is the wall before (nothing special, just a blue wall):

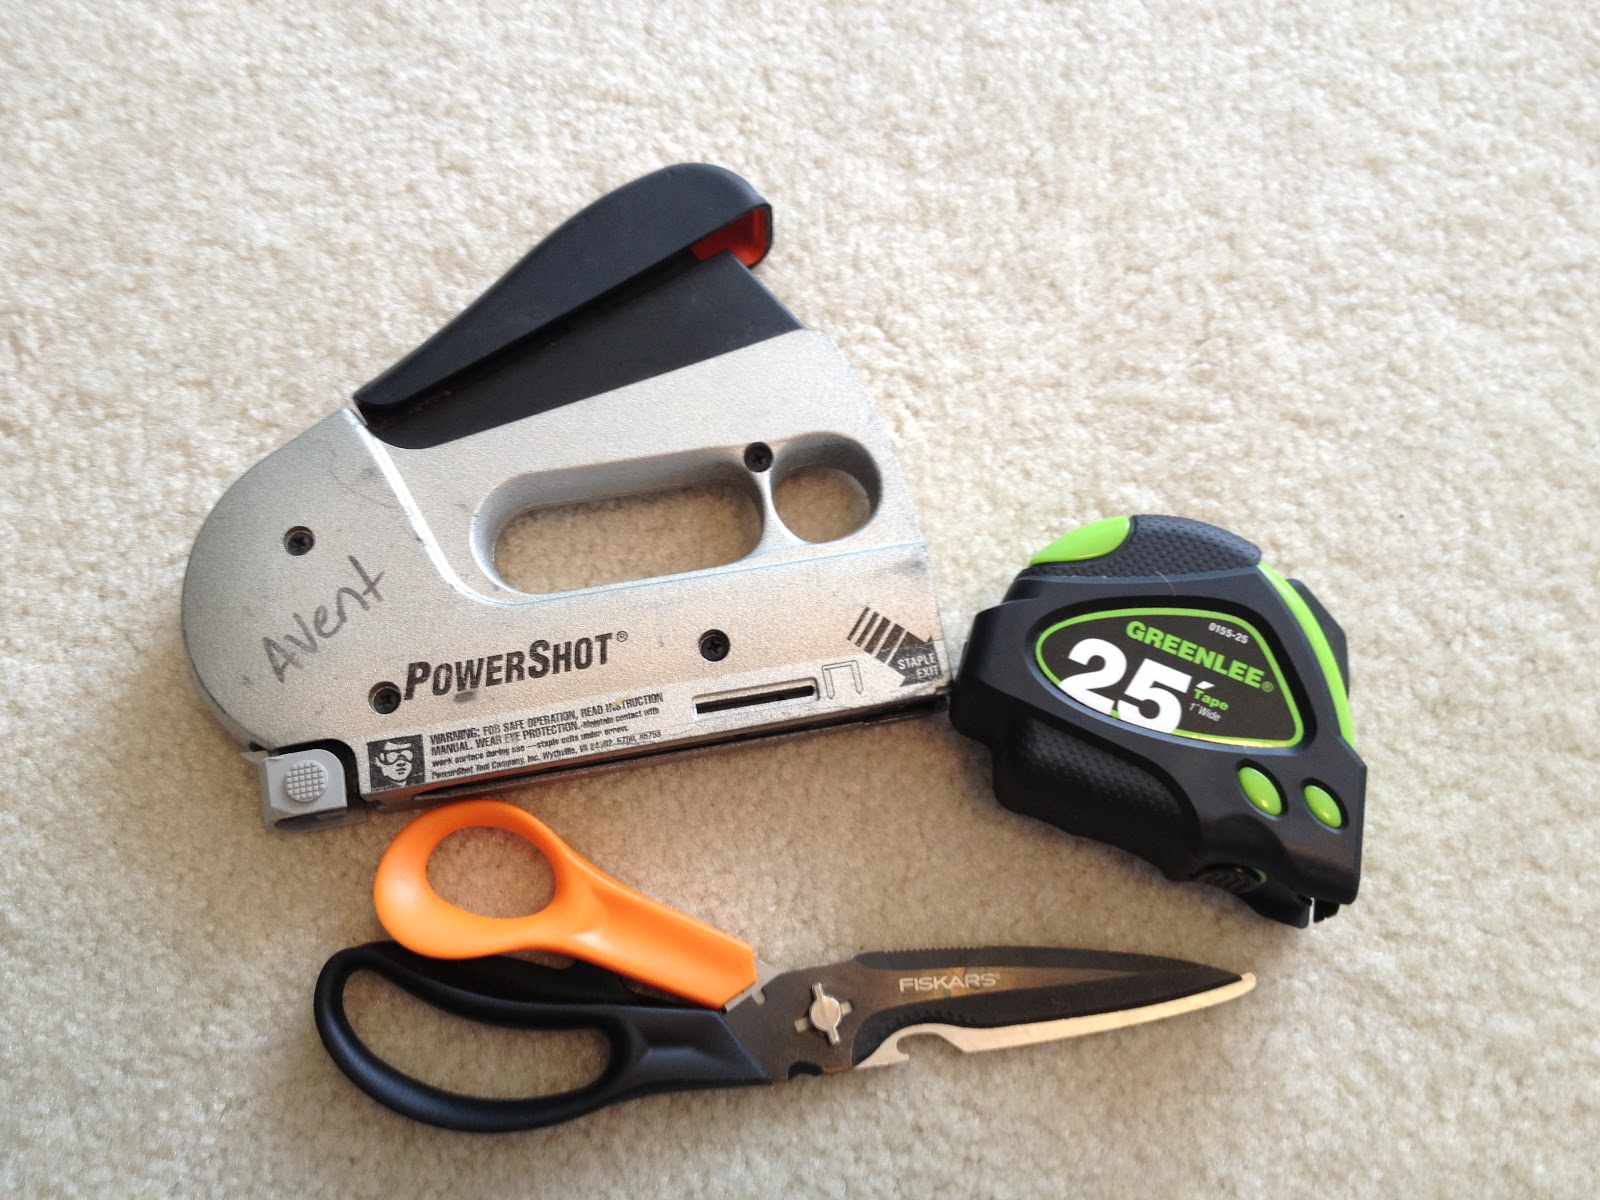
These are the supplies I used (a staple gun, measuring tape, heavy duty scissors, and duh chicken wire):
This was when I laid the chicken wire out to measure and cut it. For this step, I just measured the wall and did my best to cut the chicken wire about the same height. I was fully prepared to have to cut some off of the bottom once I hung it, but it fit perfectly. Yes!

This is what it looked like when I finished stapling it to the wall:

This is the finished product after I hung some knick-knacks on it. I'm in love with this wall, like for real. I love being able to change it up any time I want. (I'm a little fickle, so its perfect for me).

Here is a close-up of the goodies I put on it:

Here's my inspiration, Katie's Version.

I am incredibly pleased with the end result of my chicken wire wall. Yay for DIY projects that come to completion!
No comments:
Post a Comment